Easy Halloween Cakes: Sweet Treats That Bring a Spooktacular Smile
Hey there, fellow foodies! As we embrace the vibrant colors and spooky spirit of Halloween, it gets me all nostalgic thinking about the delightful treats my family and I used to whip up in the kitchen. Halloween was always an exciting time, not just for the costumes and trick-or-treating but for the wonderful, sweet masterpieces we’d create. So today, I’m thrilled to share a recipe that’ll bring a hint of magic to your festive celebrations — Easy Halloween Cakes!
Imagine this: the aroma of freshly baked chocolate cake wafting through your home, the joy of decorating with colorful icing and candies, and the delight on your loved ones’ faces as they take that first bite. It’s this kind of comfort that I cherish and aim to recreate in my own kitchen. So grab your aprons, and let’s dive into the world of spooky cakes that are too good to pass up!
A Personal Story: The Halloween Bake-Off
Growing up, Halloween was a big deal in my house. My mom would transform our kitchen into a bustling bakery filled with laughter, flour, and the occasional sneaky bite of chocolate. One year, my cousin and I decided we would hold our very own Halloween bake-off. Armed with our favorite recipes, we dove headfirst into a floury frenzy. I chose to make a classic chocolate cake, while he opted for a pumpkin spice creation.
With a little creative spirit (and maybe a tad too much food coloring), we crafted the most vibrant cakes anyone could ever imagine! The grand finale was a tie, with both cakes taste-tested by our ever-supportive family. That magical experience stayed with me, and now, it inspires me to share my favorite easy Halloween cake recipes with all of you.
Ingredients: What You’ll Need
Here’s a list of essentials to get you started on your Halloween cake journey:
-
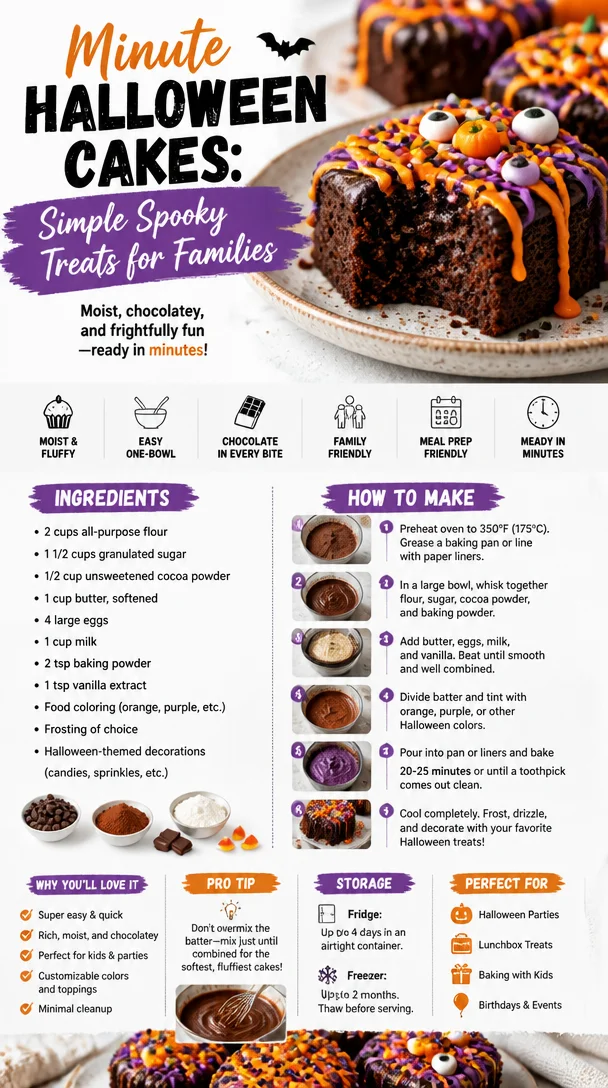
2 cups all-purpose flour: The backbone of our cake. Use cake flour for a lighter texture, or swap it with a gluten-free blend if you prefer.
-
1 1/2 cups granulated sugar: Sweetness on a whole new level! For a healthier alternative, try coconut sugar or a sugar substitute.
-
1/2 cup unsweetened cocoa powder: This will bring the chocolatey goodness. If you’re in the mood for something different, consider using Dutch-processed cocoa for a richer flavor.
-
1 cup butter, softened: Essential for a moist cake. You can substitute with unsweetened applesauce or coconut oil for a dairy-free option.
-
4 large eggs: They help bind everything together. If you’re going egg-free, try using flax eggs (1 tbsp ground flaxseed with 2.5 tbsp water per egg).
-
1 cup milk: Adds moisture and richness. Almond or oat milk can be great dairy-free alternatives.
-
2 tsp baking powder: This helps your cake rise to fluffy perfection. If you’re out, you can use baking soda, but don’t forget to add an acid like vinegar or lemon juice!
-
1 tsp vanilla extract: A dash of magic; it elevates all the flavors. Feel free to substitute with almond extract for a unique twist!
-
Food coloring (orange, purple, etc.): Go wild with your color choices! Gel food coloring works best for vibrant shades.
-
Frosting of choice: Whether you prefer buttercream, cream cheese, or something store-bought, let it be your canvas!
-
Halloween-themed decorations (candies, sprinkles, etc.): Get creative! Think spooky sprinkles, candy eyes, or even chocolate spiders!
Step-by-Step Instructions: Let’s Bake!
Step 1: Preheat and Prepare
Preheat your oven to 350°F (175°C). While it’s warming up, grab two 9-inch round cake pans and grease them with butter or non-stick spray. I like to line the bottoms with parchment paper for easy removal later. Trust me, no one wants to deal with cake tearing!
Step 2: Mix the Dry Ingredients
In a large mixing bowl, whisk together your flour, cocoa powder, and baking powder. This step is crucial as it ensures there are no lumps! Plus, it lets that cocoa powder release its heavenly aroma. If you’re feeling extra fancy, sift the ingredients for a lighter texture.
Step 3: Cream the Butter and Sugar
Now it’s time to make some magic! In another bowl, cream the softened butter and granulated sugar together until it’s light and fluffy. This should take about 3-5 minutes using an electric mixer. Pro tip: make sure your butter is nice and soft (not melted). This will give your cake the perfect, tender crumb.
Step 4: Add the Eggs and Vanilla
Next, add your eggs one at a time, mixing well after each addition. Pour in the vanilla extract, and let that sweet aroma fill your kitchen! It’s like a cozy hug in a bowl.
Step 5: Combine Wet and Dry Ingredients
Now, gently mix the dry ingredients into the wet mixture, alternating with the milk. Start and end with the dry ingredients to keep the batter light. If it gets too thick, don’t hesitate to add slightly more milk. We want a luscious (and somewhat pourable) batter.
Step 6: Color It Up!
Now comes the fun part! Divide the batter into separate bowls for different colors. Add your food coloring and mix until you achieve your desired shades. Remember—the colors will lighten a bit as they bake, so don’t be shy!
Step 7: Pour and Bake
Pour the colorful batter into the prepared pans, swirling them gently for a marbled effect if you’re feeling extra creative. Pop them into the oven and bake for 25-30 minutes or until a toothpick inserted in the center comes out clean. Your kitchen should be filled with that irresistible cake aroma right about now!
Step 8: Cool and Decorate
Allow the cakes to cool in the pans for about 10 minutes before transferring them to a wire rack to finish cooling. While they cool, it’s time to whip up your frosting! To decorate, spread a layer of frosting on top of the first cake, then stack the second on top, and frost the top and sides.
Now, the world is your oyster when it comes to decoration! Go wild with Halloween-themed candies, sprinkles, or even a drizzle of melted chocolate. Let your creativity run free!
Serving Suggestions: How to Plate
To make this cake look as dreamy as it tastes, consider the following serving suggestions:
-
Slice it into generous pieces and serve on decorative plates.
-
Place a dollop of whipped cream or a scoop of vanilla ice cream to the side for that extra indulgence.
-
Add some spiderweb decorations with melted chocolate on top for a spooky effect.
-
For more flair, dust with powdered sugar just before serving to mimic snow (or in this case, ghostly mist).
Recipe Variations: Spooky Twists
Want to switch it up? Here are a few creative variations to try:
-
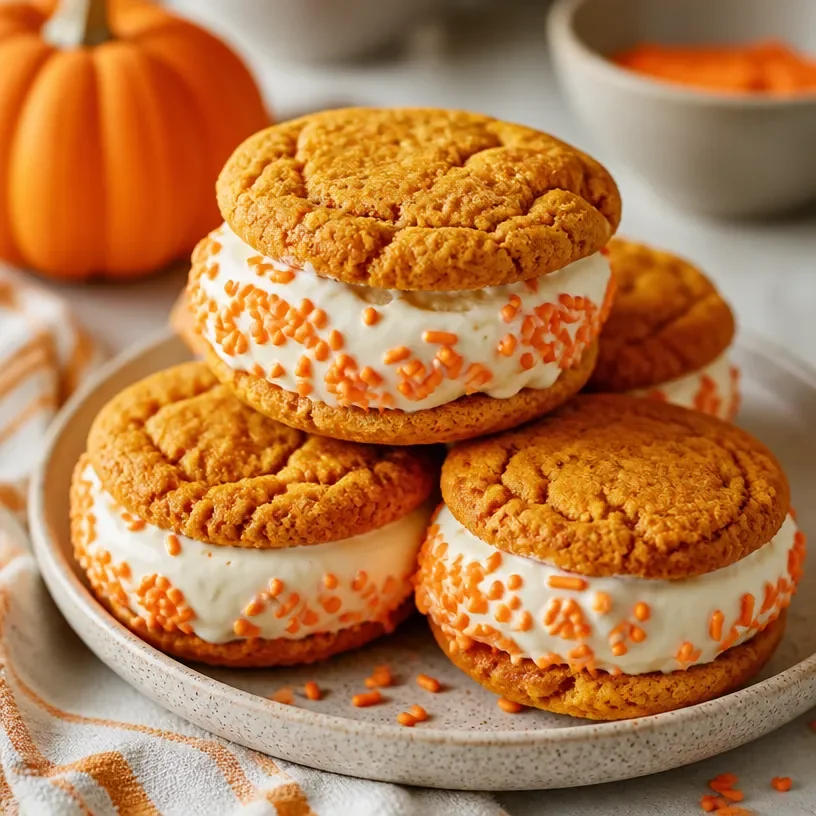
Pumpkin Spice Cake: Substitute half the cocoa powder with pumpkin puree and add pumpkin spice. Perfect for a cozy autumn vibe!
-
Marble Cake: Swirl in a vanilla batter to create a beautiful marble effect. Just divide the cake batter into two bowls and mix some vanilla extract with half.
-
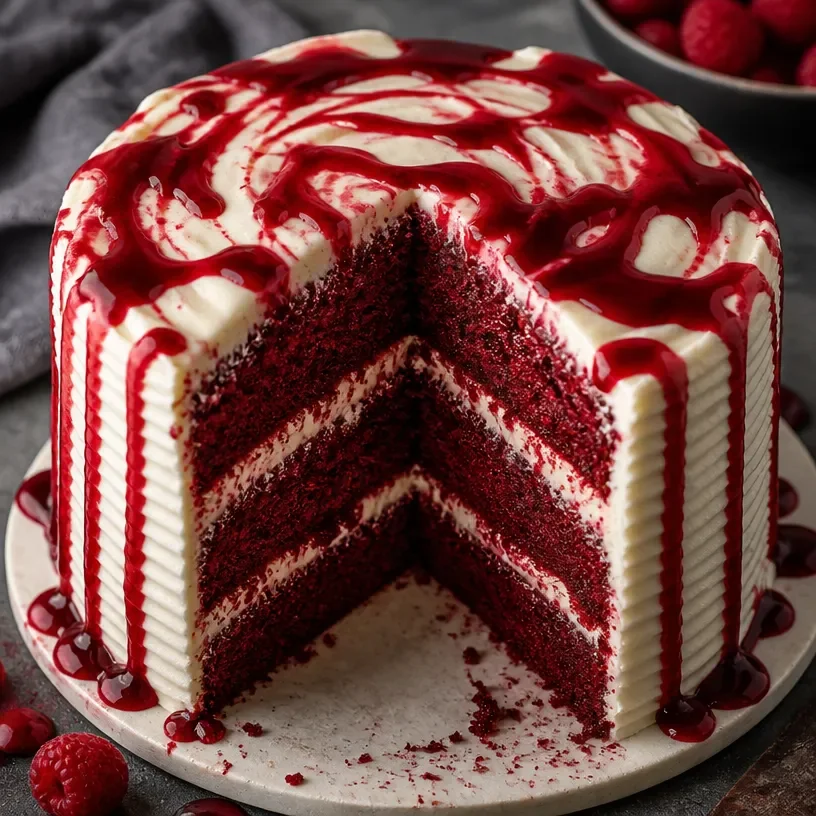
Red Velvet Layer: Add red food coloring to vintage cream cheese frosting for a frightful yet delicious red velvet theme.
-
Chocolate Mint Cake: Add peppermint extract to your frosting and sprinkle crushed mint candies on top for a fresh twist!
-
Vegan Delight: Use plant-based butter, almond milk, and flax eggs to create a vegan Halloween masterpiece!
Chef’s Notes: Beyond the Cakes
As I reflect on my cake journey, I can’t help but share a funny kitchen story from my childhood. One Halloween, I tried to decorate a cake that was supposed to look like a spooky graveyard. Let’s just say, the result looked more like a mini disaster! My “tombstones” ended up crumbling, and the frosting turned an unearthly shade of green. But what mattered was the laughter we shared—an untold number of memories that bring a smile to my face.
This recipe has evolved over the years, with countless trial and error (some successful, others…not so much!). Embrace the process, and don’t be afraid to step outside your comfort zone. The best dishes often come from a little bit of improvisation!
FAQs and Troubleshooting
Q1: My cake is dense; what happened?
A: This could be due to too much flour or overmixing the batter. Be gentle when combining your ingredients and make sure to measure accurately!
Q2: How can I make the colors more vibrant?
A: Opt for gel food coloring rather than liquid to achieve rich, bold hues. Start small and add more, mixing until you reach your desired brightness.
Q3: Can I bake this as a sheet cake instead?
A: Absolutely! Simply pour the batter into a greased sheet pan and adjust the baking time to around 30-35 minutes. Cool and slice into squares!
Q4: What can I do if I don’t have parchment paper?
A: No problem! Grease your pans generously with butter or non-stick spray and dust with flour. This will help with easy release after baking.
Nutritional Info
(Optional: Nutritional information can vary greatly depending on the frosting and fillings you choose, but here’s a general idea for one slice of the cake, without frosting):
- Calories: 250
- Total Fat: 12g
- Saturated Fat: 7g
- Cholesterol: 60mg
- Sodium: 150mg
- Total Carbohydrates: 32g
- Dietary Fiber: 2g
- Sugars: 14g
- Protein: 3g
And there you have it, friends! An Easy Halloween Cake recipe that’s bound to create sweet memories, ignite your creativity, and warm the hearts of everyone who gets to enjoy a slice (or two!). I can’t wait to hear about your baking adventures. May your Halloween be filled with laughter, love, and, most importantly, delicious cake! Happy baking! 🍰🎃
PrintEasy Halloween Cakes
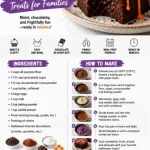
Celebrate Halloween with these delightful and colorful cakes that are sure to impress your family and friends.
- Prep Time: 15 minutes
- Cook Time: 30 minutes
- Total Time: 45 minutes
- Yield: 12 servings 1x
- Category: Dessert
- Method: Baking
- Cuisine: American
- Diet: Vegetarian
Ingredients
- 2 cups all-purpose flour
- 1 1/2 cups granulated sugar
- 1/2 cup unsweetened cocoa powder
- 1 cup butter, softened
- 4 large eggs
- 1 cup milk
- 2 tsp baking powder
- 1 tsp vanilla extract
- Food coloring (orange, purple, etc.)
- Frosting of choice
- Halloween-themed decorations (candies, sprinkles, etc.)
Instructions
- Preheat your oven to 350°F (175°C) and prepare two 9-inch round cake pans.
- Mix the flour, cocoa powder, and baking powder in a large bowl.
- Cream the butter and granulated sugar together until light and fluffy.
- Add the eggs one at a time, mixing well after each addition, and then add the vanilla extract.
- Combine the wet and dry ingredients, alternating with the milk.
- Color the batter using food coloring to create vibrant shades.
- Pour the batter into the prepared pans and bake for 25-30 minutes.
- Cool the cakes before decorating with frosting and Halloween-themed decorations.
Notes
Experiment with different flavors by adding pumpkin puree for a pumpkin spice variation or using different color combinations.
Nutrition
- Serving Size: 1 slice
- Calories: 350
- Sugar: 14g
- Sodium: 150mg
- Fat: 12g
- Saturated Fat: 7g
- Unsaturated Fat: 3g
- Trans Fat: 0g
- Carbohydrates: 45g
- Fiber: 2g
- Protein: 3g
- Cholesterol: 60mg
Keywords: Halloween, Cake, Dessert, Baking, Spooky Cakes