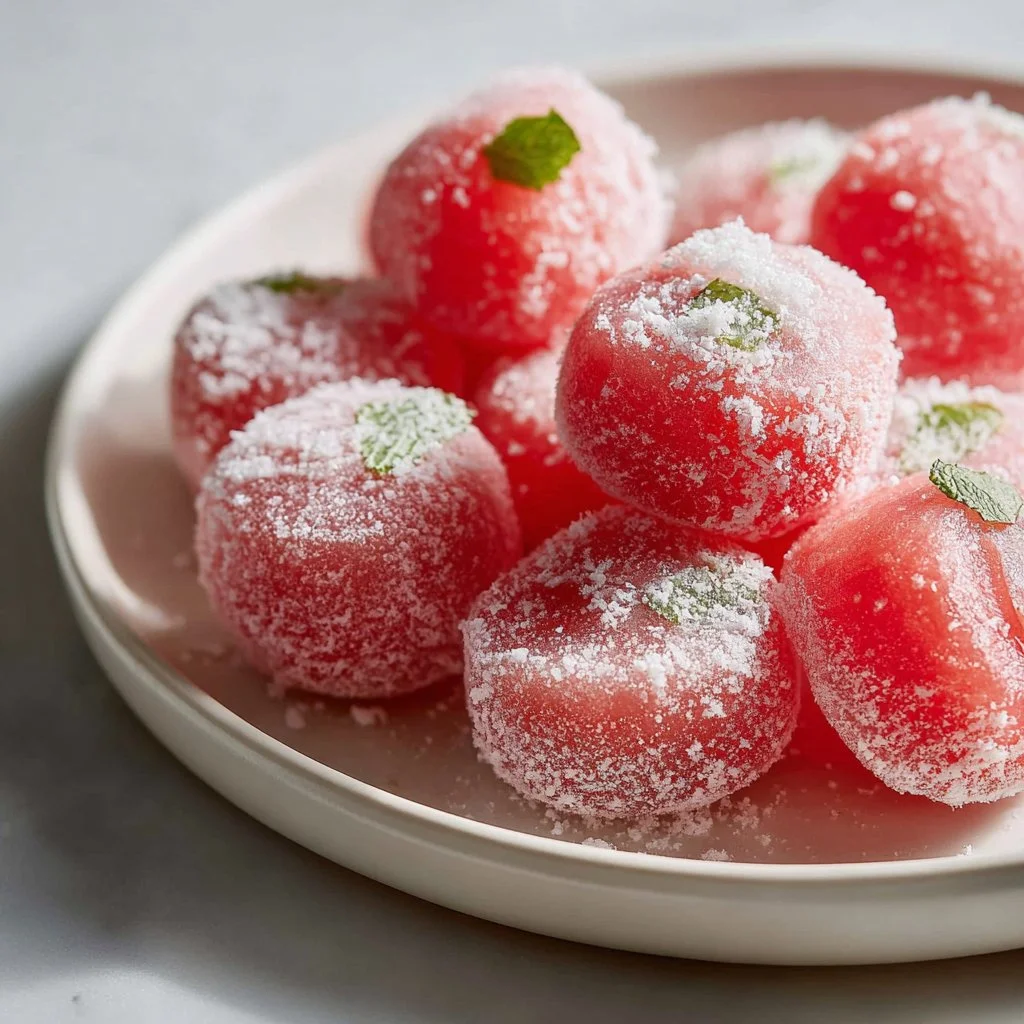
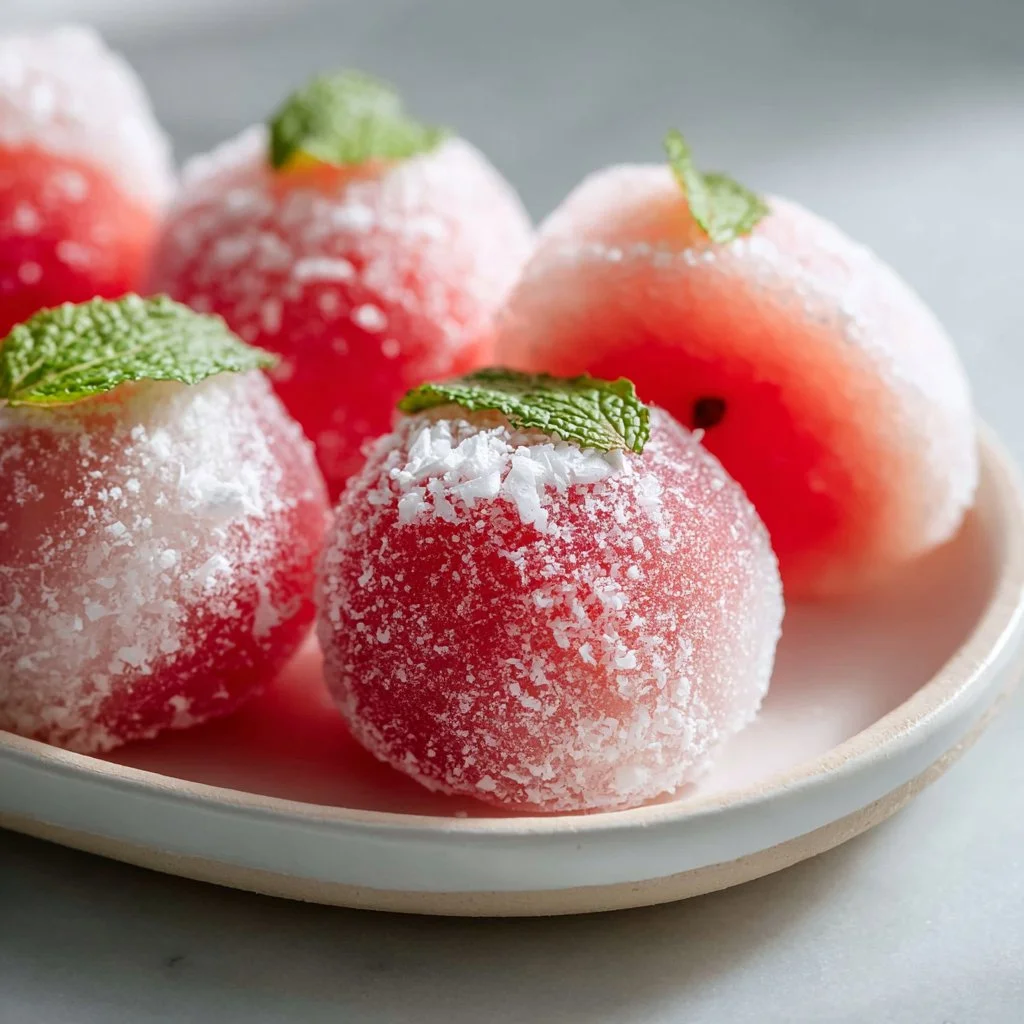
Easy Watermelon Mochi Recipe: Soft, Chewy Summer Treats
Hey there, fellow food lovers! 🌟 It’s Nina here from RusticFlavor, and I’m so excited to share with you this delightful summer treat that’s sure to bring a splash of sweetness to your sunny days — Easy Watermelon Mochi! If you’ve never tried mochi before, get ready for a soft, chewy experience that dances on your taste buds. Mochi, with its subtle sweetness and unique texture, is like a little slice of heaven!
A Nostalgic Bite of Summer
As I sit here reminiscing, I can’t help but think back to those balmy summer evenings spent in my grandmother’s kitchen. The air was always filled with laughter, and more often than not, the sweet fragrance of ripe watermelon wafted through the open windows. Grandma had a knack for turning simple ingredients into magical treats, and one of my favorites was her infamous watermelon dessert.
I remember sitting on the floor, surrounded by piles of fresh fruit, and helping her create all sorts of goodies. As we blended, mixed, and giggled our way through the late afternoon sun, the joy of cooking together became as memorable as the treats we made. Those warm moments in the kitchen are what inspired me to create this Watermelon Mochi recipe. It’s a fun way to celebrate summer’s freshest fruit while creating new memories in your own kitchen.
Ingredients
Let’s gather our ingredients so we can start making this chewy, dreamy delight! Here’s what you need:
-
1 cup fresh watermelon juice (strained)
- This is the star of the show! Use juicy, ripe watermelon for the best flavor. If you don’t have a juicer, you can simply blend the watermelon and strain the juice.
-
1 cup glutinous rice flour (sweet rice flour)
- This flour is essential for that signature chewy texture. The glutinous rice flour is different from regular rice flour, so be sure to get the right one. If you’re gluten-free, rest assured that this flour is naturally gluten-free!
-
1/4 cup granulated sugar
- Sweetness level can be adjusted according to your taste. Use less if you prefer a more subtle sweetness or substitute with a sugar alternative like stevia!
-
1 tablespoon cornstarch (for dusting)
- This helps prevent the mochi from sticking and gives it that lovely finish. You can also use potato starch if you have that on hand.
Just a few simple ingredients, right? Now, let’s get to the fun part!

Step-by-Step Instructions
-
Juicing the Watermelon
Start by gathering your ripe watermelon and converting it into juice. Cut it into chunks, blend well, and strain through a fine mesh sieve or cheesecloth. You’ll want to capture every delicious drop! Measure out 1 cup of the juice and set it aside. -
Mixing the Dry Ingredients
In a large mixing bowl, combine the glutinous rice flour and granulated sugar. Stir them together until well mixed. This step ensures an even sweetness throughout the mochi! -
Combining with the Juice
Gradually add the fresh watermelon juice to the dry ingredients. Stir continuously to form a smooth batter. You can use a whisk or a spatula — whatever you prefer! If the mixture feels too thick, you can add a splash more watermelon juice. -
Steaming the Batter
Now, it’s time to steam! Pour the batter into a lightly greased heatproof dish. Make sure the dish fits into your steamer. Steam on high heat for about 20-25 minutes, or until the mixture becomes translucent and firm. You want it to look like a gelatinous mass — that’s how you know it’s ready! -
Cooling and Dusting
Once cooked, carefully remove the dish from the steamer (remember, it’s hot!). Allow it to cool at room temperature for about 10 minutes, then sprinkle a generous amount of cornstarch on your work surface. -
Shaping the Mochi
Once the mochi is cool enough to handle, gently dredge it in cornstarch and turn it out onto the dusted surface. With lightly powdered hands, knead the mochi for a minute or two to create a smooth texture. Cut it into bite-sized pieces using a knife or pizza cutter. -
Serve and Enjoy
Dust each piece with more cornstarch to keep it from sticking together. Serve it immediately or store it in an airtight container for a couple of days — if you can resist eating it all in one sitting!
Serving Suggestions
Plating your Watermelon Mochi is a fun way to showcase this beautiful treat! I love to serve them on a colorful platter garnished with fresh mint leaves for a pop of color. You could also pair them with some fresh berries or a dollop of whipped cream on the side for extra indulgence.
These mochi pieces are perfect for summer picnics, outdoor barbecues, or simply enjoying during a cozy movie night at home. Just make sure to keep them well-dusted with cornstarch to maintain their lovely chewy texture!
Recipe Variations
Now that you’ve got the basics down, let’s get creative! Here are some variations on this Watermelon Mochi that you might want to try:
-
Minty Refreshing Mochi
Add a few fresh mint leaves to the watermelon juice before blending for a refreshing, herbaceous twist. -
Coconut Water Mochi
Swap out half of the watermelon juice for coconut water for a tropical vibe. This also enhances the chewy texture! -
Berry Burst Mochi
You can replace watermelon juice with blended strawberries or blueberries. Either of these will give you a deliciously berry-flavored mochi! -
Chocolate Drizzle
Melt some dark chocolate and drizzle over individual pieces of mochi for an indulgent treat that adds another layer of flavor! -
Matcha Mochi
Incorporate a teaspoon of matcha powder into the dry ingredients for a unique flavor and beautiful color contrast.
Chef’s Notes
This Watermelon Mochi recipe has evolved quite a bit since I first attempted to make it! I’ll never forget my first try—a complete disaster! I miscalculated the steaming time and ended up with a thick, gooey mass that wouldn’t budge! But hey, that’s the beauty of cooking; every mistake is a lesson and an opportunity to improve.
Over the years, I’ve learned that patience is key when it comes to mochi. It’s all about experimenting and having fun in the kitchen! Not every batch will turn out perfect, but trust me, they’ll all be delicious.
FAQs and Troubleshooting
-
Why did my mochi turn out too chewy?
If the mochi is overly chewy, it may have been overcooked. Be sure to check it at the 20-minute mark and remove it as soon as it’s firm yet still slightly springy to the touch. -
What can I do if my mochi sticks together?
Dust generously with cornstarch after cutting and make sure to keep the pieces separated. Sticking can also occur if too much moisture is present, so keep them in a cool place. -
Can I freeze the mochi?
Yes! Watermelon Mochi can be frozen for up to a month. Just make sure to wrap each piece individually in plastic wrap and store them in a freezer-safe bag. -
Is there a non-sweet version of this recipe?
Absolutely! You can reduce the sugar even more or skip it entirely if you’re looking for a savory version — just be aware that the texture may be slightly different.
Nutritional Info
(Since this is an optional section, let’s just say this will vary based on the portion size and ingredients used, but generally, mochi is a lower-calorie treat! You can calculate based on specific brands and quantities you use.)
Thank you so much for joining me in this kitchen adventure! I hope you’re inspired to whip up these Easy Watermelon Mochi and share them with your family and friends. Cooking is all about creating beautiful moments, and I can’t wait for you to experience the joy of making these soft, chewy treats. Don’t forget to invite people to join in — there’s nothing like sharing great food and even greater company!
Happy cooking, and let’s make memories one bite at a time.
— Nina 🍉✨
Easy Watermelon Mochi

A delightful summer treat that combines soft, chewy mochi with the refreshing flavor of watermelon, perfect for hot days.
- Prep Time: 15 minutes
- Cook Time: 25 minutes
- Total Time: 40 minutes
- Yield: 4 servings 1x
- Category: Dessert
- Method: Steaming
- Cuisine: Japanese
- Diet: Vegetarian
Ingredients
- 1 cup fresh watermelon juice (strained)
- 1 cup glutinous rice flour (sweet rice flour)
- 1/4 cup granulated sugar
- 1 tablespoon cornstarch (for dusting)
Instructions
- Start by gathering your ripe watermelon and converting it into juice. Cut it into chunks, blend well, and strain through a fine mesh sieve or cheesecloth. Measure out 1 cup of the juice and set it aside.
- In a large mixing bowl, combine the glutinous rice flour and granulated sugar. Stir them together until well mixed.
- Gradually add the fresh watermelon juice to the dry ingredients. Stir continuously to form a smooth batter.
- Pour the batter into a lightly greased heatproof dish. Steam on high heat for about 20-25 minutes, or until the mixture becomes translucent and firm.
- Once cooked, carefully remove the dish from the steamer and allow it to cool at room temperature for about 10 minutes.
- Once the mochi is cool enough to handle, gently dredge it in cornstarch and turn it out onto the dusted surface. Knead the mochi for a minute or two to create a smooth texture.
- Cut it into bite-sized pieces using a knife or pizza cutter. Dust each piece with more cornstarch to keep it from sticking together.
Notes
This recipe can be customized with different flavors by using various fruit juices or even incorporating matcha powder for a unique twist.
Nutrition
- Serving Size: 1 piece
- Calories: 200
- Sugar: 15g
- Sodium: 5mg
- Fat: 1g
- Saturated Fat: 0g
- Unsaturated Fat: 1g
- Trans Fat: 0g
- Carbohydrates: 48g
- Fiber: 1g
- Protein: 3g
- Cholesterol: 0mg
Keywords: mochi, watermelon, dessert, summer treats, Japanese sweets