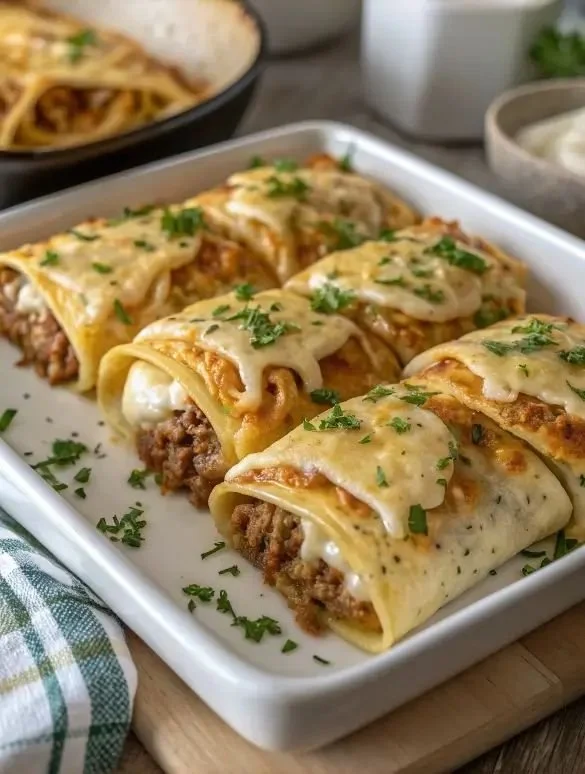
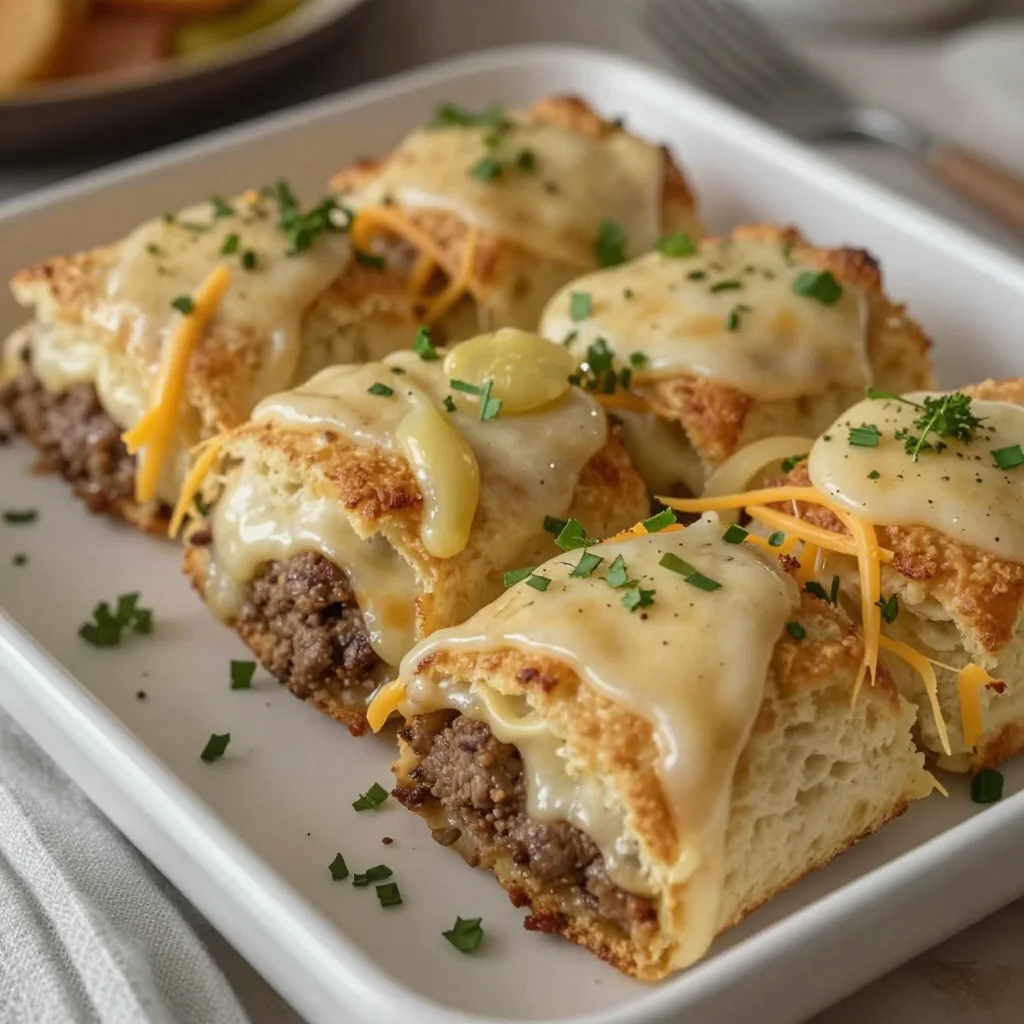
Cheeseburger Pockets: A Comfort Food Classic
Hey there, fellow foodies! 🍔💖 Today, I’m so excited to share a recipe that’s not just delicious but is also filled with heartwarming memories from my childhood. You see, there’s something about cheeseburgers that just brings everyone together, right? But what if we could take that familiar, comforting flavor and pop it into a pocket of flaky biscuit dough? That’s where my cheeseburger pockets come in, transforming a classic into a handheld treasure!
So grab your apron and let’s dive into a recipe that not only satisfies hunger but also serves up a generous scoop of nostalgia.
A Memorable Kitchen Story
Growing up in my family, weekends were always filled with the sizzling sounds of cooking – especially when my dad was grilling burgers on Sunday afternoons. The aroma would drift through the house, making our stomachs grumble in delightful anticipation. One of my fondest memories is the first time we turned our beloved cheeseburger recipe into a fun, pocket-sized version. I still remember the laughter as we joined in the kitchen, trying to figure out how to wrap up those juicy beef patties into something manageable.
We experimented with leftover biscuits and found it to be a culinary game-changer! Each bite was bursting with cheesy, meaty goodness, and we couldn’t get enough! Now, I love making these cheeseburger pockets with my own family. They’ve become a beloved meal that’s not only easy to whip up but also a great way to spark joy and create memories together.
Ingredients
To make these scrumptious cheeseburger pockets, you’ll need the following ingredients:
-
1 lb ground beef
This is the star of the show! Opt for lean ground beef for a healthier twist or go for regular for more flavor. -
1 small onion, diced
Onions add a great depth of flavor. If you’re not a fan of onions, feel free to skip or substitute with green onions or shallots for a milder taste. -
1 cup shredded cheddar cheese
Cheese is essential for that gooey goodness! You can swap this out for pepper jack if you like a bit of a kick or mozzarella for a milder flavor. -
1 tsp garlic powder
Garlic powder brings in an irresistible savory flavor. For a fresh twist, you can use fresh minced garlic instead (just about 2 cloves). -
Salt and pepper to taste
Seasoning is key to bringing out the flavors of your ingredients. Don’t skip this step! -
1 package refrigerated biscuit dough
This is what will cradle all those delicious fillings! Feel free to use the flaky variety for extra buttery layers. -
Optional: pickles, mustard, ketchup
These are the finishing touches that can elevate your cheeseburger pocket experience! Customize according to your taste.
Step-by-Step Instructions
Let’s get cooking! Here’s how to create these delightful cheeseburger pockets:
-
Preheat your oven.
Preheat your oven to 375°F (190°C). This will ensure a perfect golden crust! -
Cook the ground beef and onions.
In a large skillet over medium heat, add the ground beef and diced onions. Sprinkle in that garlic powder, along with plenty of salt and pepper! Cook until the meat is fully browned and the onions are soft, usually around 5-7 minutes. Take a taste. Adjust the seasoning if needed!Chef’s Tip: Use a wooden spoon to break up the beef while it cooks for even browning and flavor.
-
Drain the excess fat.
Once the beef is cooked, drainage time! Carefully pour off any excess grease from the skillet. -
Mix in the cheese.
Lower the heat, then stir in the shredded cheddar cheese. Let it melt into the warm beef mixture, creating a delicious, gooey filling. Feel free to add any additional seasonings you love at this stage! -
Prepare the biscuit dough.
Open up that package of biscuit dough. On a clean surface, gently flatten each biscuit using a rolling pin or your hands until they are about 4-5 inches in diameter.Chef’s Note: Don’t worry about it being perfect – rustic is what we’re going for here!
-
Assemble the pockets.
Place a generous spoonful of the cheeseburger filling in the center of each flattened biscuit. If you’re using pickles or other extras, now’s the time to add them too! Carefully fold the dough over the filling and pinch the edges together, sealing in all that cheesy goodness.Chef’s Hack: A fork can help create a crimped edge and seal it tighter!
-
Bake the pockets.
Place the assembled pockets on a baking sheet lined with parchment paper. Bake in the preheated oven for 15-20 minutes or until they are golden brown and puffed up.Chef’s Tip: For a shiny finish, brush the tops with a little egg wash or melted butter before baking!
-
Cool and serve!
Once they are out of the oven, let them cool for a few minutes—if you can resist! These pockets are best enjoyed warm, preferably with some ketchup or mustard for dipping!
Serving Suggestions
Now that your cheeseburger pockets are ready, how do we serve them? Here are a few ideas to elevate your presentation:
-
Rustic Plate: Serve the pockets on a large wooden serving board with a selection of dipping sauces like ketchup, mustard, and maybe even a spicy aioli or ranch!
-
**Garnish: ** Sprinkle fresh parsley or chives on top for color and freshness.
-
Accompaniments: Pair with a simple green salad or some crispy veggie sticks to balance out the meal.
Recipe Variations
Want to switch things up? Here are a few fun variations on my cheeseburger pockets to try:
-
Veggie Delight: Swap the ground beef for a mixture of black beans and corn with chopped bell peppers for a nutritious vegetarian option!
-
BBQ Twist: Mix in barbecue sauce with the beef and cheese for a smoky flavor explosion.
-
Spicy Kick: Add jalapeños or hot sauce to the mix for those who crave heat!
-
Mushroom Blend: For a fun umami flavor, sautéed mushrooms can replace some of the beef, making a perfect blend!
-
Cheesy Spinach: Add spinach to the filling for a burst of color and extra nutrients—just make sure to squeeze out any excess water!
Chef’s Notes
These cheeseburger pockets have become a staple in my home, evolving as my tastes and cooking style have changed over the years. I’ve learned that this recipe is incredibly versatile, accommodating all sorts of dietary preferences, and it’s perfect for busy weeknights or cozy weekend gatherings.
Speaking of gatherings, I once served these at a family reunion. My aunt, who prides herself on her gourmet cooking, couldn’t get enough! She asked for the recipe, and the next thing I knew, they became the hit of the summer BBQs! Now that’s the magic of simple, good food.
FAQ
Can I use turkey or chicken instead of beef?
Absolutely! Ground turkey or chicken can be a delicious alternative. Just be mindful that they can dry out more quickly than beef, so a little extra seasoning and moisture may be necessary!
What if I don’t have biscuit dough?
No worries! You can use puff pastry, crescent roll dough, or even make your own homemade dough if you’re feeling adventurous! Adjust baking times as necessary.
Can I freeze these pockets?
Yes! After assembling the pockets, freeze them on a baking sheet. Once frozen, transfer them to a zip-top bag. When you want to eat them, bake from frozen, adding a few extra minutes to the baking time.
How do I reheat them?
For best results, reheat in the oven to crisp them up again. Microwaving is quick but may lead to sogginess.
Nutritional Info
While I love me some comfort food, I understand the importance of keeping an eye on what we eat! Here’s a general idea of the nutritional breakdown per pocket:
- Calories: ~290
- Total Fat: 15g
- Saturated Fat: 6g
- Cholesterol: 55mg
- Sodium: 500mg
- Carbohydrates: 26g
- Protein: 14g
(These values can vary based on specific ingredients used.)
And there you have it! A warm, comforting recipe, cozy stories, and lots of tips to elevate your cooking game. If you give these cheeseburger pockets a try, I promise you will create some delightful memories in the kitchen that you, your family, and friends will cherish.
Let’s continue celebrating the magic of simple, honest cooking together. Happy cooking! 🍽️✨
PrintCheeseburger Pockets

A comforting handheld twist on classic cheeseburgers, filled with juicy beef, cheese, and wrapped in flaky biscuit dough.
- Prep Time: 15 minutes
- Cook Time: 20 minutes
- Total Time: 35 minutes
- Yield: 4 servings 1x
- Category: Main Course
- Method: Baking
- Cuisine: American
- Diet: None
Ingredients
- 1 lb ground beef
- 1 small onion, diced
- 1 cup shredded cheddar cheese
- 1 tsp garlic powder
- Salt and pepper to taste
- 1 package refrigerated biscuit dough
- Optional: pickles, mustard, ketchup
Instructions
- Preheat your oven to 375°F (190°C).
- Cook the ground beef and onions in a large skillet over medium heat. Sprinkle in garlic powder, along with salt and pepper, and cook until fully browned.
- Drain the excess fat from the skillet.
- Mix in the cheese until melted into the beef mixture.
- Prepare the biscuit dough by flattening each biscuit until about 4-5 inches in diameter.
- Assemble the pockets by placing a spoonful of filling in each biscuit, folding it over and pinching the edges to seal.
- Bake on a parchment-lined baking sheet for 15-20 minutes until golden brown.
- Cool slightly before serving with ketchup or mustard.
Notes
Serve warm with dipping sauces. Can freeze assembled pockets and bake from frozen.
Nutrition
- Serving Size: 1 pocket
- Calories: 290
- Sugar: 2g
- Sodium: 500mg
- Fat: 15g
- Saturated Fat: 6g
- Unsaturated Fat: 7g
- Trans Fat: 0g
- Carbohydrates: 26g
- Fiber: 1g
- Protein: 14g
- Cholesterol: 55mg
Keywords: cheeseburger, comfort food, easy recipe, family meal, handheld food