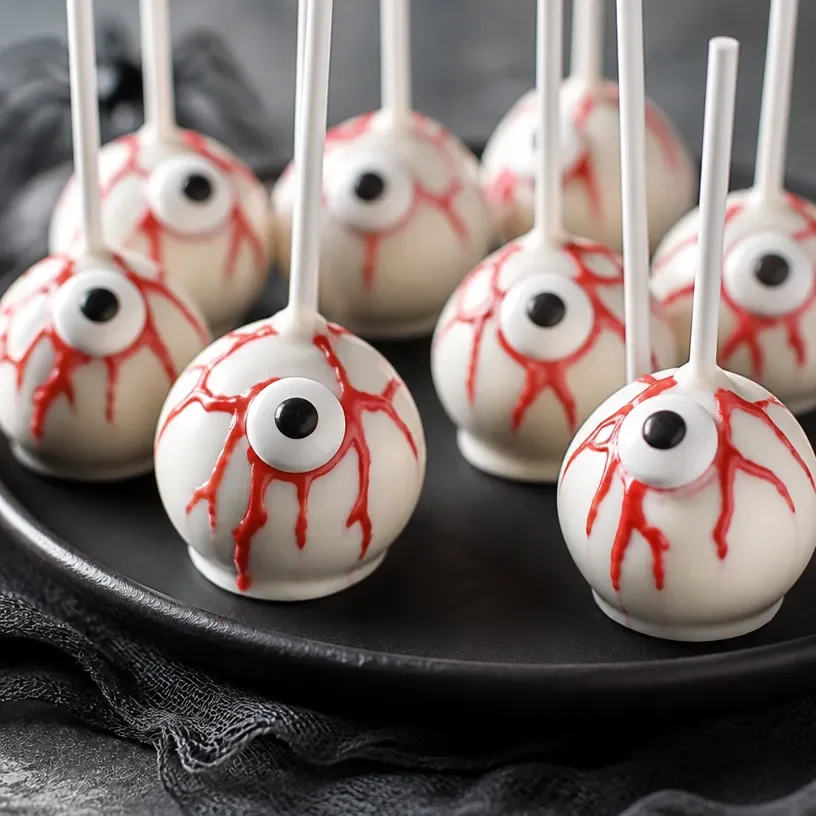
Eyeball Cake Pops: A Spooky Treat That’s Sure to Delight!
Hello, fellow food lovers! 🎉 Today, we’re diving into the whimsical world of cake pops with a delightfully spooky twist: Eyeball Cake Pops. These little treats are not just a feast for the eyes but a perfect sweet surprise for your next gathering or Halloween celebration. Imagine kids giggling at the sight of them while adults marvel at your creativity. Let’s get into the magic of making these eye-catching delights!
A Sweet Nostalgic Journey
As a child, I remember eagerly waiting for Halloween. It wasn’t just about the costumes or the trick-or-treating; it was all about the sweets! My grandmother always made the most creative treats, transforming simple recipes into spooky masterpieces. One Halloween, she surprised me with a platter of “eyeball” cookies—sticky, melty, and full of candy. It ignited my love for creative baking, and to this day, I find myself pulling from those magical memories in the kitchen.
Fast forward to today, and I’m here to share my modern take on those eyeball delights with these cake pops. They’re a foolproof way to evoke nostalgia while letting your imagination run wild. Let’s gather our ingredients and roll up our sleeves!
Ingredients
Here’s what you’ll need to create your Eyeball Cake Pops:
-
1 baked vanilla cake:
- Chef Insight: Use your favorite vanilla cake recipe or grab a box mix for convenience. Make sure to crumble it well later!
-
1/2 cup frosting:
- Substitution Tip: Vanilla buttercream is a classic choice, but feel free to use cream cheese frosting for a tangy twist. If you’re trying to cut calories, you can use less frosting for a less sweet result.
-
White candy melts:
- Chef Insight: These are great for coating because they melt smoothly and create a beautiful finish. If you prefer color, use colored candy melts to match the occasion.
-
Candy eyeball decorations:
- Substitution Tip: These can be found at most craft stores, especially around Halloween. If you can’t find them, you can use mini chocolate chips or M&M’s instead!
Step-by-Step Instructions
-
Bake the Cake:
- Start by baking your vanilla cake according to the package instructions or recipe. Once it’s cooled, let it sit until it’s completely chilled. The colder, the better for crumbling!
-
Crumble the Cake:
- Once cooled, and I mean really cooled (chilling helps with the rolling process!), crumble the cake into a large bowl. Get your hands in there or use a fork to make it nice and fine.
- Tip: You want it to resemble moist sand—if it’s too chunky, your cake pops may not hold together well.
-
Mix in the Frosting:
- Add your half cup of frosting to the cake crumbs. Mix until fully combined. You want it to be moist but not overly sticky.
- Chef Hack: If it seems too dry, add a tad more frosting. If too wet, toss in more crumbled cake!
-
Shape the Cake Pops:
- Take small amounts of the cake mixture and roll them into balls. Aim for about 1-1.5 inches in diameter.
- Tip: Wetting your hands slightly can help prevent that mixture from sticking too much!
-
Chill the Cake Balls:
- Place the shaped balls on a baking sheet lined with parchment paper and chill them in the freezer for about 30 minutes. This helps them firm up and makes it easier to dip later.
-
Melt the Candy Coating:
- While your cake balls are chilling, melt your white candy melts according to the package instructions.
-
Dip and Coat the Cake Pops:
- Once chilled, remove the cake balls from the freezer. Dip each lollipop stick in the melted candy, then insert it halfway into a cake ball for better adhesion.
- Now, dip each cake ball into the melted candy coating. Completely cover it, tapping off any excess.
- Tip: Use a fork or spoon to help you with the dipping process for a clean finish.
-
Add the Eyeballs:
- While the coating is still wet, place a candy eyeball on top. Chef Insight: Get creative here! You could even use a drizzle of melted dark chocolate for a spooky pupil effect.
-
Let Them Set:
- Stick the finished cake pops into a piece of Styrofoam or a cake pop stand to let them set up completely.
Serving Suggestions
These Eyeball Cake Pops aren’t just cute; they’re also perfect for several occasions:
- Halloween Parties: Set them up on a spooky platter with some cobweb decorations!
- Back-to-School Treats: Surprise your little ones with eyeballs in their lunchboxes.
- Gifts for Friends: Wrap them in cellophane with a cute bow for a sweet surprise.
Recipe Variations
Ready to get creative? Here are a few wicked variations you can try:
-
Chocolate Cake Pops: Swap out the vanilla cake for a devilishly rich chocolate cake!
-
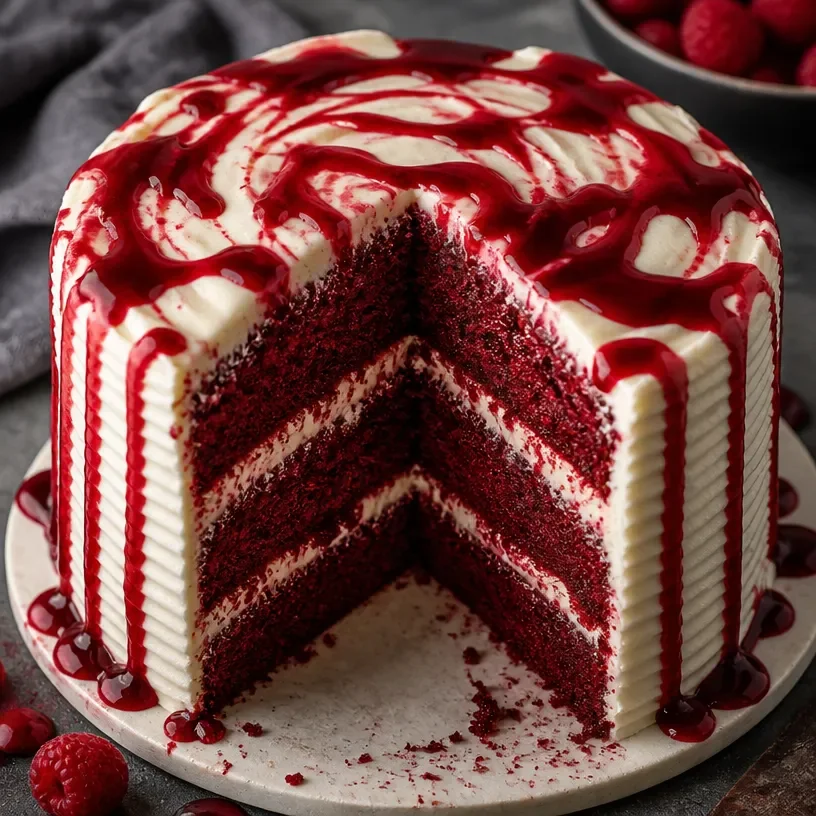
Red Velvet Eyeballs: Make red velvet cake pops and pair them with cream cheese frosting—the red and white combination is perfect for Halloween.
-
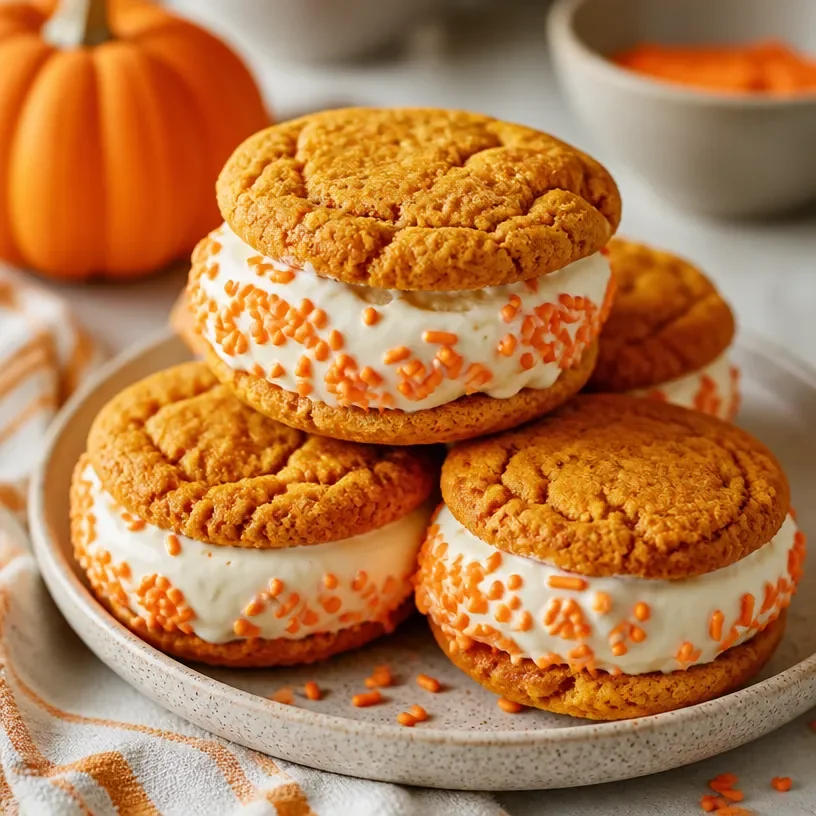
Spicy Pumpkin Cake Pops: Use pumpkin cake and cinnamon frosting for a seasonal twist. The warmth of the spices can add great depth.
-
Healthy Version: Swap out the frosting for a blended mixture of bananas and nuts or dates for a healthier cake pop.
-
Vegan Eyeball Cake Pops: Use a vegan cake mix and frosting to make a plant-based treat!
Chef’s Notes
Ahh, the glorious chaos of the kitchen! One time, I decided to add some colored sprinkles to my candy melts for a fun effect. Well, let’s just say they didn’t melt properly and turned into a gummy mess. Lesson learned: save the sprinkles for the top!
Watching these cake pops come together takes me back to my childhood, where simple recipes and a little creativity could turn any ordinary day into an extraordinary one. I hope these Eyeball Cake Pops bring as much joy and nostalgia to your kitchen as they do to mine.
FAQs and Troubleshooting
Q: My cake pops keep falling off the sticks. What did I do wrong?
A: This can happen if the cake mixture is too moist or if the candy coating is too warm when you dip them. Make sure your cake pops are really cold and your coating is at the right temperature.
Q: Can I use a different kind of frosting?
A: Absolutely! Any kind of frosting works, but cream cheese or chocolate frosting can give you some unique flavors to play with.
Q: How do I store my Eyeball Cake Pops?
A: They can be stored at room temperature for 3-4 days or in the fridge for up to a week. Just make sure they’re in an airtight container!
Q: Do I need special tools for this recipe?
A: While it helps to have lollipop sticks and a styrofoam holder, you can improvise with things you already have at home! A muffin tin works well to hold them upright while they set.
Nutritional Info
While I’m all about wholesome ingredients, I encourage you to enjoy these Eyeball Cake Pops in moderation. Each pop can vary based on the size and ingredients used, but here’s a ballpark figure:
- Calories: Approximately 150 calories per pop
- Carbohydrates: 20g
- Protein: 1g
- Fat: 6g
Let’s Create Delicious Memories Together!
There you have it! Eyeball Cake Pops that are as fun to make as they are to eat. I hope you delve into this delicious adventure and share your spooky creations with everyone around you. Don’t forget to infuse your baking with stories and joy, just as I learned from my grandmother. Happy baking and cheers to delightful memories in the kitchen! 🍰👻
PrintEyeball Cake Pops
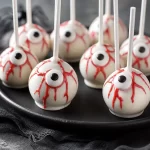
Delightful and spooky cake pops that are perfect for Halloween or any gathering.
- Prep Time: 15 minutes
- Cook Time: 30 minutes
- Total Time: 45 minutes
- Yield: 16 servings 1x
- Category: Dessert
- Method: Baking
- Cuisine: American
- Diet: Vegetarian
Ingredients
- 1 baked vanilla cake
- 1/2 cup frosting (vanilla buttercream or cream cheese)
- White candy melts
- Candy eyeball decorations
Instructions
- Bake the Cake: Start by baking your vanilla cake according to the package instructions. Once it’s cooled, let it chill completely.
- Crumble the Cake: Crumble the cooled cake into a large bowl until it resembles moist sand.
- Mix in the Frosting: Add the frosting to the cake crumbs and mix until fully combined.
- Shape the Cake Pops: Roll the mixture into balls, aiming for 1-1.5 inches in diameter.
- Chill the Cake Balls: Place on a lined baking sheet and chill in the freezer for about 30 minutes.
- Melt the Candy Coating: Melt the white candy melts according to package instructions.
- Dip and Coat the Cake Pops: Dip each lollipop stick in melted candy, insert into a cake ball, then dip the cake ball in the coating.
- Add the Eyeballs: While the coating is wet, place a candy eyeball on top.
- Let Them Set: Insert the finished pops into a stand to let them set completely.
Notes
Great for Halloween parties or as gifts.
Nutrition
- Serving Size: 1 pop
- Calories: 150
- Sugar: 20g
- Sodium: 70mg
- Fat: 6g
- Saturated Fat: 3g
- Unsaturated Fat: 2g
- Trans Fat: 0g
- Carbohydrates: 20g
- Fiber: 0g
- Protein: 1g
- Cholesterol: 15mg
Keywords: cake pops, Halloween treats, spooky desserts, creative baking